Resources
Artwork Requirements
To help you with preparing files, formatting images, creating PDF’s, and otherwise enhancing your process or product, we have collected the following useful tech tips. You may want to check back on occasion to see if we’ve added anything new to this page. If you do not see your question addressed below, please let us know. At Howard Printing, we are always happy to discuss your thoughts or questions in person or on the phone, and encourage you to bring in your ideas early.
Design
Bleeds — If you are planning for your project to print all the way to the edge of the sheet of paper (i.e. “bleed” off the edge of the paper and have no border), you need to extend your artwork 1/8-inch beyond where the sheet will be trimmed on press. Click for Glossary
Envelope design — If you are designing a remittance envelope, be sure to pay attention to the glue area since any text or image printed or written there would be ruined upon opening. Click for Envelope Sizes
Fonts — When packaging or collecting for output, be sure to place a checkmark in the boxes for “Printer Fonts” and “Screen Fonts” for Quark or the boxes for “Copy Fonts” and “Include Fonts and Links” for InDesign.
Image formats — The best image formats are JPG, TIF, EPS, and PSD. Take notice of your fonts for EPS and PSD images, because they have layers linked to fonts. TIF images can sometimes have layers, too. For JPG images, keep the Photoshop quality at 6 or higher. Web image formats (GIF, PNG) do not produce good print quality.
Image resolution — Save your images at 300 dpi or higher for photographs and 600 dpi or higher for line art. Web images are usually 72 dpi which is too low for good print quality.
Postal regulations — For direct mail pieces, it is wise to show your artwork to a Mailpiece Design Analyst at your local U.S. Post Office before printing to ensure it meets current postal regulations, for size, weight, address panel, folds, etc. (See mailing and shipping links.)
Proofing
Corrections or changes to your original document — If we have already been working with your file, it is usually best for us to make any changes or corrections you might have, rather than you submitting a whole new original file. (We do not add on charges for minor AA’s.)
Folding dummies — Before submitting your job for press, be sure to print out a laser and make a folding dummy to ensure text, photos, and other graphic elements fall the way you want them to across folds, and to check that your panels are centered. Click for Folding Samples or Templates
Preparing for Press
Color — When printing four-color process, any RGB color used in your artwork should be converted to CMYK. Check your file for any spot (PMS) colors that you are not using and delete them. Click for Glossary
Creating PDF files — Fonts should be embedded. Make sure bleeds are pulled. Understand that adjustments and changes would need to be made to your original file.
Naming files — When naming your images or files, it is best to use unique, descriptive names to help identify your files quickly and easily (i.e., instead of IMG_0564.jpg, name it J_Smith_Nov12.jpg).
Packaging or collecting documents for press — Be sure to place a checkmark in the boxes that gather the links for all images and fonts used in your artwork (see below). It is also a good idea to make a PDF of your final artwork and send it with your package, so that we can use it for cross-reference before we provide you with a press proof.
File Packaging
(1) Create a folder on your computer desktop with the name of your job.
(2) Gather all of the items that go with your job and copy them into the folder — the original file you created, the fonts you used, the graphic images you included, and a PDF, if possible, for us to see the formatted file exactly as you see the formatted file.
(3) If you are on a Mac: control-click or right-click on the folder and select the option that says “Compress” folder. If you are using Windows: right-click on the folder and select the zip option.
It will appear on your desktop as a “.zip” folder.
(4) Use the “Select” button to locate and select your “zipped” designated file(s) / folder(s). Or drag and drop the file(s)/folder(s) in the upload area.
(5) Click the “Upload File” button to start uploading your file(s).
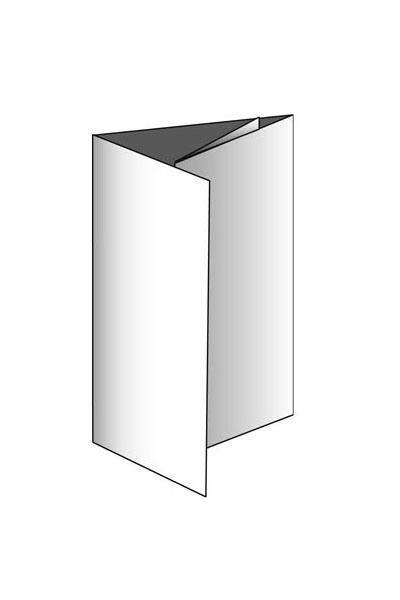
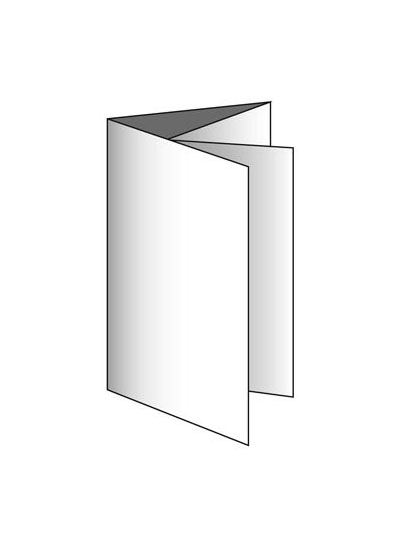
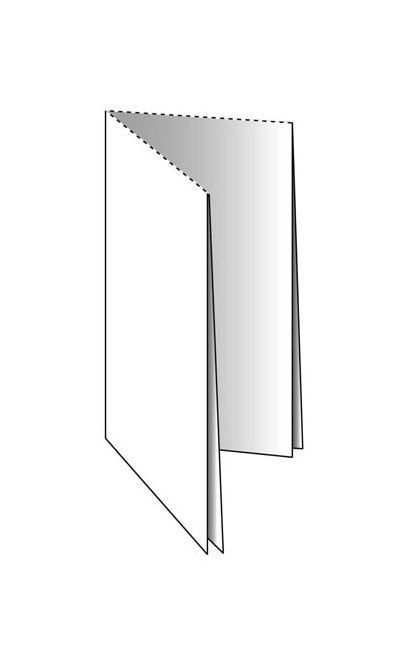
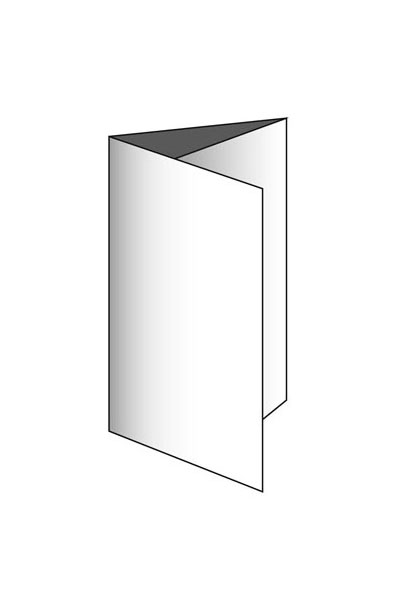
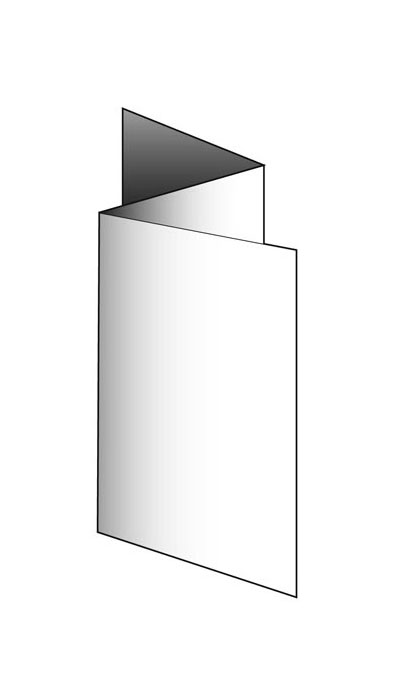
Folding Samples
To help you in deciding and describing what type of fold your project needs, here are several illustrations of popular options. Please ask us if you do not see what you are looking for.